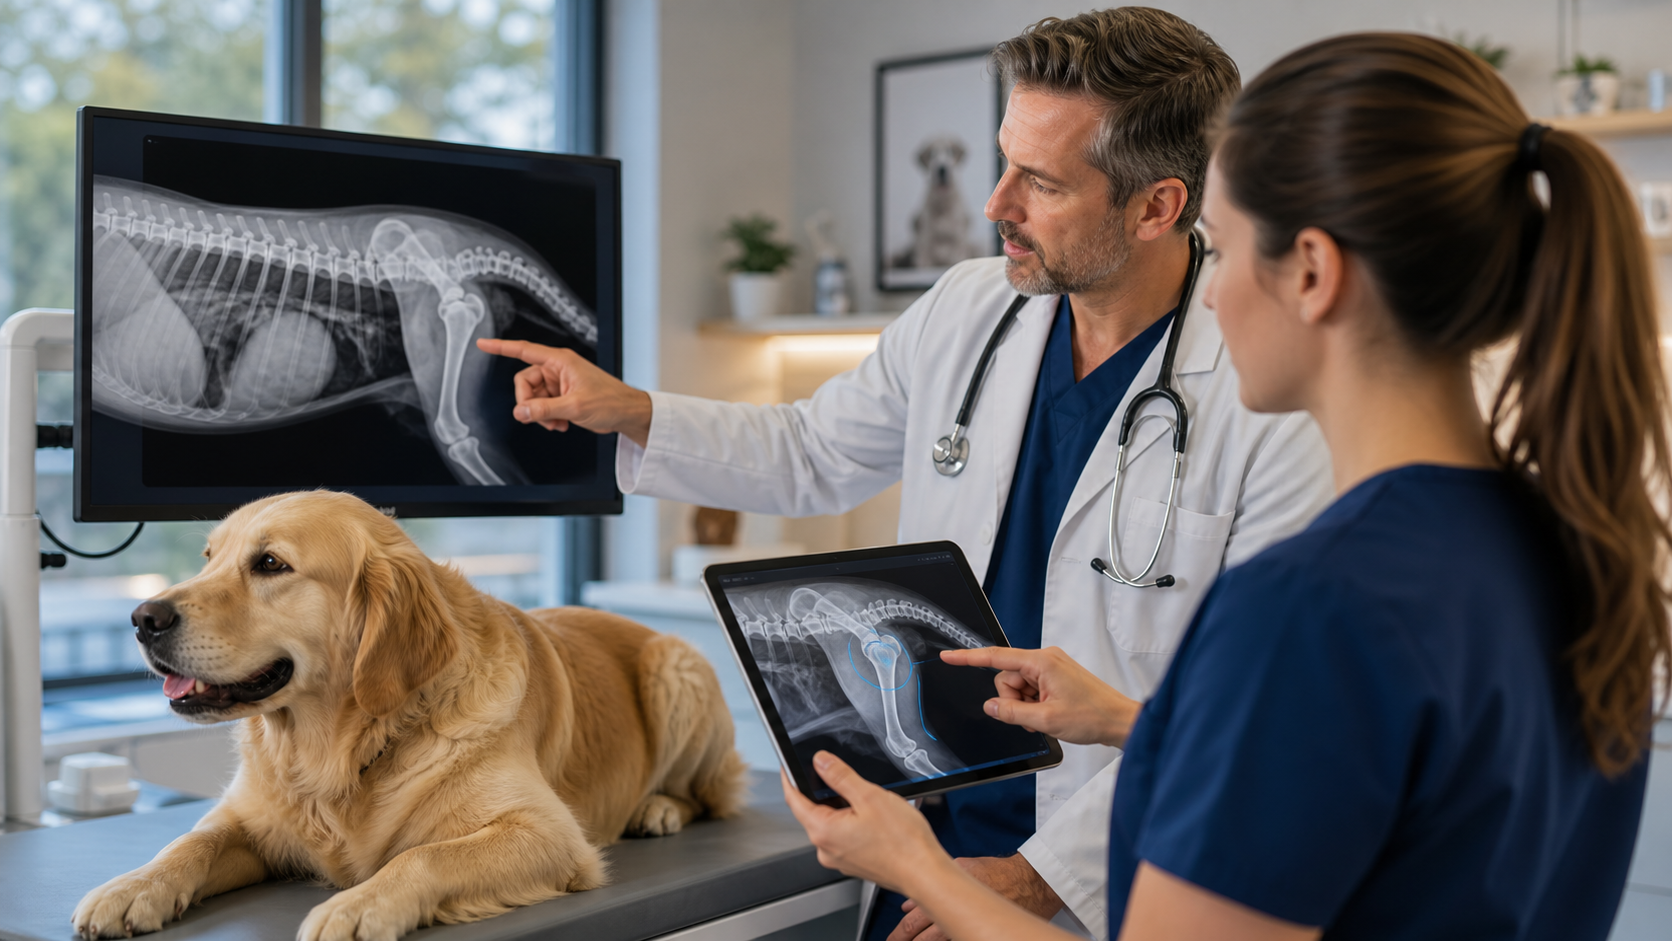
Imaging in Ubik: Studies, Images, and Linked Appointments
Imaging is rarely just an isolated appointment. A patient comes in for limping, vomiting, trauma, coughing, dental planning, or a follow-up exam, and the doctor decides that imaging is needed as part of that case.
Ubik now supports that reality with Imaging Study: a structured supplemental form that can live directly inside the appointment you are already working on.
Imaging Starts as Part of the Case
The most common workflow is simple:
- Open the active appointment.
- Add an Imaging Study supplemental form.
- Record what was requested, what was captured, and what the doctor concluded.
- Link the images and documents that belong to that study.
- Print or share a clean imaging report when the work is ready.
That means the imaging record stays connected to the consult, surgery, hospitalization, dental plan, or follow-up where the decision happened.
One Form, Multiple Studies
An appointment may need more than one imaging area. A limping dog may need shoulder and elbow views. A trauma case may need thorax and abdomen. A dental case may need several focused image groups.
Inside the Imaging Study form, your team can create multiple named studies. Each study can track:
- Modality, such as radiograph, ultrasound, CT, MRI, or other clinic-defined options
- Region, laterality, and views
- Reason for imaging
- Sedation and contrast details
- Findings, impression, recommendations, and final evaluation
- Linked appointment images or documents
Each study can be included or excluded from the client-facing report, so draft work and internal review do not leak into the customer copy.
Link Images Without Losing the Appointment Context
Imaging files still live as normal appointment documents. That matters because the clinic can keep one document history for the appointment instead of hiding images inside a separate tool.
From the Imaging Study form, staff can:
- Select existing appointment images or documents
- Upload new files directly from the study
- Keep uploaded files linked to the active study right away
- Annotate an image and save the marked copy back to the appointment
If a document is deleted from the appointment, Ubik also removes that deleted file from any imaging study that had it linked.
Annotate the Copy, Preserve the Original
Sometimes the image itself needs a little explanation: an arrow toward the area of concern, a circle around a region, a box around a structure, or a short note for the report.
The new annotation tool lets staff mark an appointment image and save the result as a new appointment document. The original file remains intact, and the annotated copy can be linked back to the study.
That gives the team a clearer report without losing the source image.
When to Use the Imaging Appointment Type
Imaging Study is primarily a supplemental form because most imaging is ordered inside another clinical case.
But there are cases where an Imaging appointment type is useful:
- The doctor is actively seeing the patient and orders imaging.
- Another team member or room will perform the imaging.
- The clinic wants the imaging task visible as its own appointment in the queue.
- Reception or billing needs a separate but connected work item.
In that situation, create a linked Imaging appointment from the active case. The consult stays the parent clinical context, and the imaging team gets its own appointment to work through.
A Common Example
A doctor is seeing a dog for a suspected orthopedic injury. During the consult, the doctor decides radiographs are needed.
Instead of ending the consult workflow or creating a disconnected record, the team can:
- Create a linked Imaging appointment from the consult.
- Assign the imaging appointment to the technician or imaging team.
- Capture and upload the radiographs.
- Link the images to the Imaging Study.
- Add findings, impression, and recommendations.
- Share the final imaging report with the owner when the doctor approves it.
The consult, imaging work, documents, report, and checkout context all stay connected.
Client Reports Stay Clean
The imaging report is designed for client communication. It can include the appointment and patient header, study details, evaluation, findings, impression, recommendations, and selected linked images.
Draft notes and rough findings notes stay out of the client report. That gives doctors and technicians space to work while still producing a polished owner-facing document when the study is finalized.
AI Drafting, With the Right Boundaries
When AI tools are enabled, Ubik can help draft report language from the information your team enters: modality, region, views, reason, findings notes, and appointment context.
The important boundary is that the v1 assistant does not interpret the image pixels. It helps turn entered clinical context into editable report language. The doctor still reviews, edits, and accepts the final findings, impression, and recommendations.
Why It Matters
Imaging touches several parts of the clinic at once: doctor decisions, technician work, documents, owner communication, and billing. If those pieces live in different places, the handoff gets messy.
Ubik keeps imaging inside the appointment workflow:
- The doctor sees why the imaging was ordered.
- The technician sees what to capture.
- Reception sees the related appointment and documents.
- The owner receives a clearer report.
- The clinic keeps the clinical record connected to the case.
Imaging should feel like part of the patient story, not a file hunt. That is the goal of Imaging Study in Ubik.